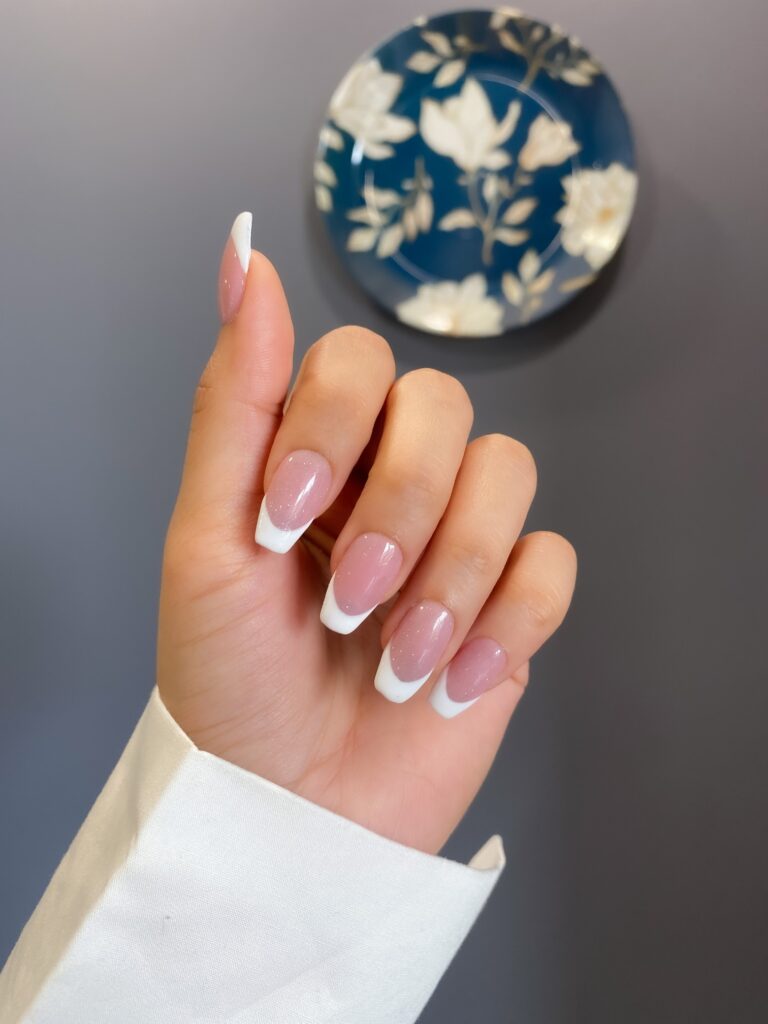
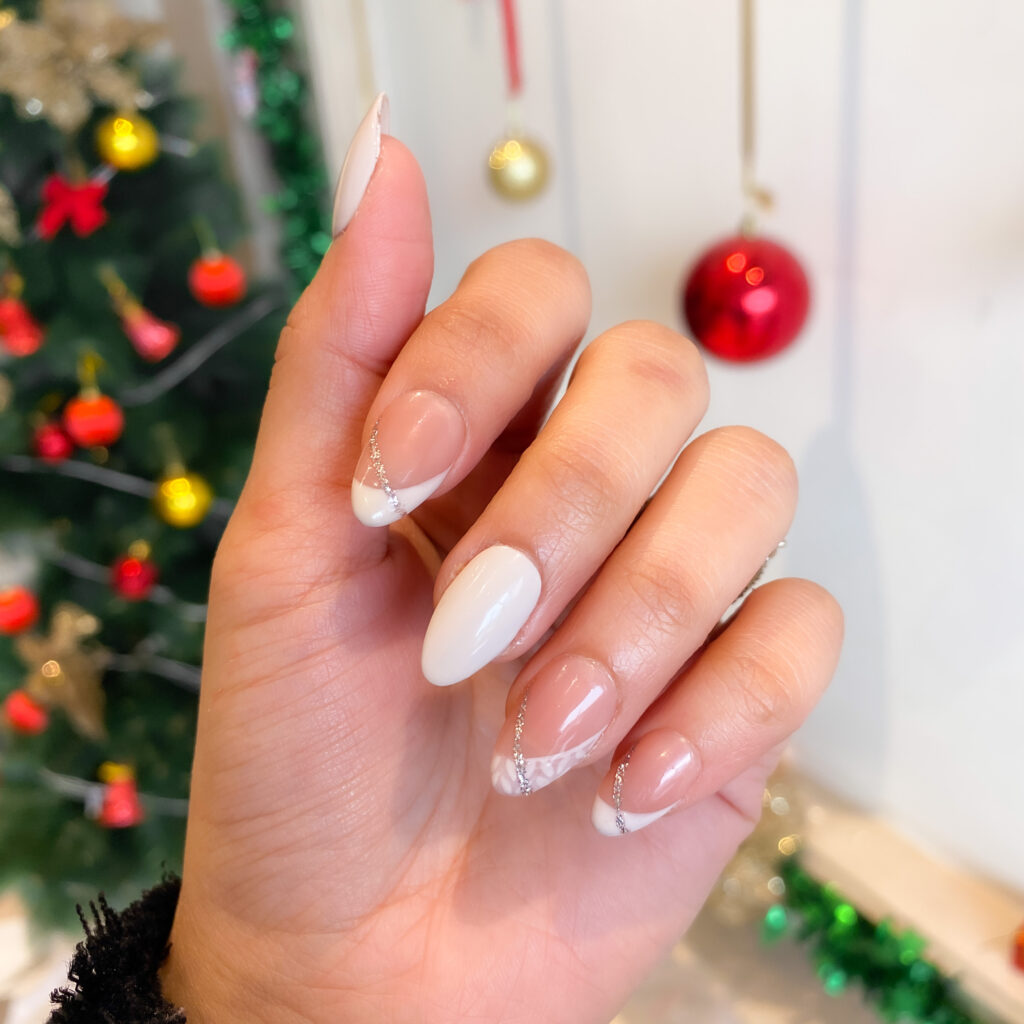
Are you intrigued by the idea of achieving flawless, salon-worthy nails from the comfort of your own home? Press-on nails offer a convenient and budget-friendly solution for anyone seeking instant glam without the hassle of traditional manicures. If you’re new to the world of press-on nails, fear not! In this beginner’s guide, we’ll walk you through the steps for a seamless application, along with essential tips to ensure your nails look fabulous and last for days.
Why Press-On Nails?
Press-on nails have surged in popularity for several reasons. They’re affordable, versatile, and easy to apply, making them an ideal choice for beginners and seasoned nail enthusiasts alike. Whether you’re preparing for a special occasion or simply want to switch up your look, press-on nails offer endless possibilities for customization and creativity.
Preparation is Key:
Before diving into the application process, it’s essential to prep your natural nails properly. Here’s what you’ll need:
- Nail file
- Cuticle pusher
- Nail polish remover (optional)
- Alcohol wipes or cotton pads
- Adhesive tabs or nail glue (included with most press-on nail kits)

Step-by-Step Guide:
- Clean and Shape: Start by gently filing your natural nails to your desired shape and length. Avoid using a back-and-forth motion, as this can weaken the nails. Instead, file in one direction to prevent splitting and breakage.
- Push Back Cuticles: Use a cuticle pusher or orange stick to gently push back your cuticles. This step helps create a smooth surface for better adhesion and ensures the press-on nails lay flat against your nail beds.
- Remove Residue: To ensure maximum adhesion, use an alcohol wipe or cotton pad soaked in nail polish remover to remove any oils or residue from your nails. This step is crucial for promoting a strong bond between the press-on nails and your natural nails.
- Select Nail Sizes: Most press-on nail kits come with a variety of sizes to accommodate different nail shapes and widths. Take your time to find the perfect fit for each nail, ensuring they match the width of your natural nails without overlapping onto the skin.
- Apply Adhesive: Depending on the type of press-on nails you’re using, apply either adhesive tabs or nail glue to the back of each press-on nail. Be sure to use a thin, even layer of adhesive to prevent excess glue from seeping out onto your skin.
- Press and Hold: Carefully place each press-on nail onto your natural nail, starting from the cuticle and pressing down firmly towards the tip. Hold in place for a few seconds to allow the adhesive to bond effectively. Repeat the process for all nails.
- Final Touches: Once all press-on nails are applied, trim or file them to your desired length and shape. If desired, apply a clear topcoat to seal and protect your manicure, adding extra shine and longevity.


Pro Tips for Success:
- Take Your Time: Rushing through the application process can lead to uneven or misplaced nails. Take your time to ensure each press-on nail is properly aligned and secured.
- Practice Makes Perfect: Don’t be discouraged if your first attempt isn’t perfect. Like any skill, applying press-on nails takes practice. Experiment with different techniques and tools to find what works best for you.
- Be Gentle: While press-on nails are durable, they’re not indestructible. Avoid excessive force or pressure, especially during activities that may cause them to lift or chip.
- Remove Carefully: When it’s time to remove your press-on nails, soak them in warm, soapy water for a few minutes to loosen the adhesive. Gently lift the edges with a cuticle pusher or orange stick, taking care not to damage your natural nails.
In conclusion, press-on nails offer a convenient and beginner-friendly alternative to traditional manicures. With the right preparation, technique, and a little practice, you can achieve flawless nails that are sure to turn heads. So why wait? Dive into the world of press-on nails and unleash your creativity today!


